Sunday 29 June 2014

Gundam Apparel : G-Shock "Gundam Mobile Suit" Watch

The popular brand watches Casio , "G-SHOCK" x  Gundam collaboration , the limited edition Gundam Mobile Suit G-Shock watch.

Price : 18,000 yen (exclude tax)
Release : September 2014


Tuesday 17 June 2014

Gunpla Basic: Nub Marks Removal

Credit to Landel ::::: 

"""Hi guys, here is my tutorial for removing nub marks for unpainted builds. I don't believe many people actually do unpainted builds but for those beginners that actually don't have airbrush or who want to use minimal spray cans (only topcoat needed) but still want to achieve a nice looking kit, then I hope you will find this tutorial useful. This is just my own method of removing the nub marks but feel free to experiment and come up with your own.

Because the build is unpainted and all you do after assembling is spray topcoat, the quality of the nub marks becomes more obvious if the plastic turns white due to "yielding". The idea is not to have any white marks on the plastic, which will make your kit look ugly.

The whitening of the plastic happens when the plastic is bent beyond its yield point. Normally this happens during the cutting of the sprue. Hence, this tutorial will show how to cut the plastic part out from the sprue without leaving white marks.

On white colour plastic, even if the plastic yields, since it's already white, the white marks aren't really obvious and you won't have to spend so much time trimming the plastic"""" - Landel 

The part in question we want to remove is circled in red.
The other parts of the plastic sprue tree are also indicated.
We want to cut the gate as far away from the plastic part as possible. That way, when the plastic yields, it will yield away from the precious component. If the gate is too small, just cut away the whole runner.

Cut away from the part!

Notice how after the part is cut, the cut area turns white?
This is because the nippers start to squeeze and bend the part before the part is actually cut.

After cutting the other two gates, you can see how white the gate becomes.

Next, use a pair of very very sharp (new) flush cutters, and start slicing away the offending nub mark starting as near to the top as possible. It's very important to use super sharp cutters, and to make your slices as thin as you possibly can. That way, instead of squeezing and bending the plastic, you slice the plastic instead. You need to make many cuts before you reach the base. 
Note: On RG kits, they have a self-aligning gate which guides the nipper flush onto the base of the component. Do not use the self-aligning guide!

After removing the very first layer. Notice how the bottom is still white? That's because part of it turned white in the very first step when removing the part from the gate. Continue to make thin slices with your nippers.

After making many slices. We have reached as far down to the plastic as possible with nippers. The nippers are unable to remove anymore plastic. Notice it's not white anymore.

For the next step, we use a super sharp modelling knife with brand new blades. I only use Olfa AK-3 with a brand new blade. Slowly rest the knife flat on the edge of the workpiece, then slice thinly across the remaining nub mark. Once again, don't get greedy here and slice as thinly as possible.

Slice thinly!

After first layer is sliced.

After slicing until the plastic is almost flush. Notice how thin the shavings are?

Next, we sand down the surface. I personally use 800 grit sandpaper for this.

After 800 grit sandpaper, the surface of the plastic looks cloudy and different colour from the rest.

In order to remove the cloudy, scratched and matte surface, I use a 3 step fingernail buffer (or nail polisher) to shine it back to its original gloss.

After first step of buffing.

After second step of buffing. It's almost back to its original shine but some fine scratches remain.

After final step of buffing. The nub mark has disappeared and it's ready for assembling (and topcoat if desired)!

Friday 13 June 2014

MG 1/100 GN-001 Gundam Exia [Celestial Being Mobile Suit]

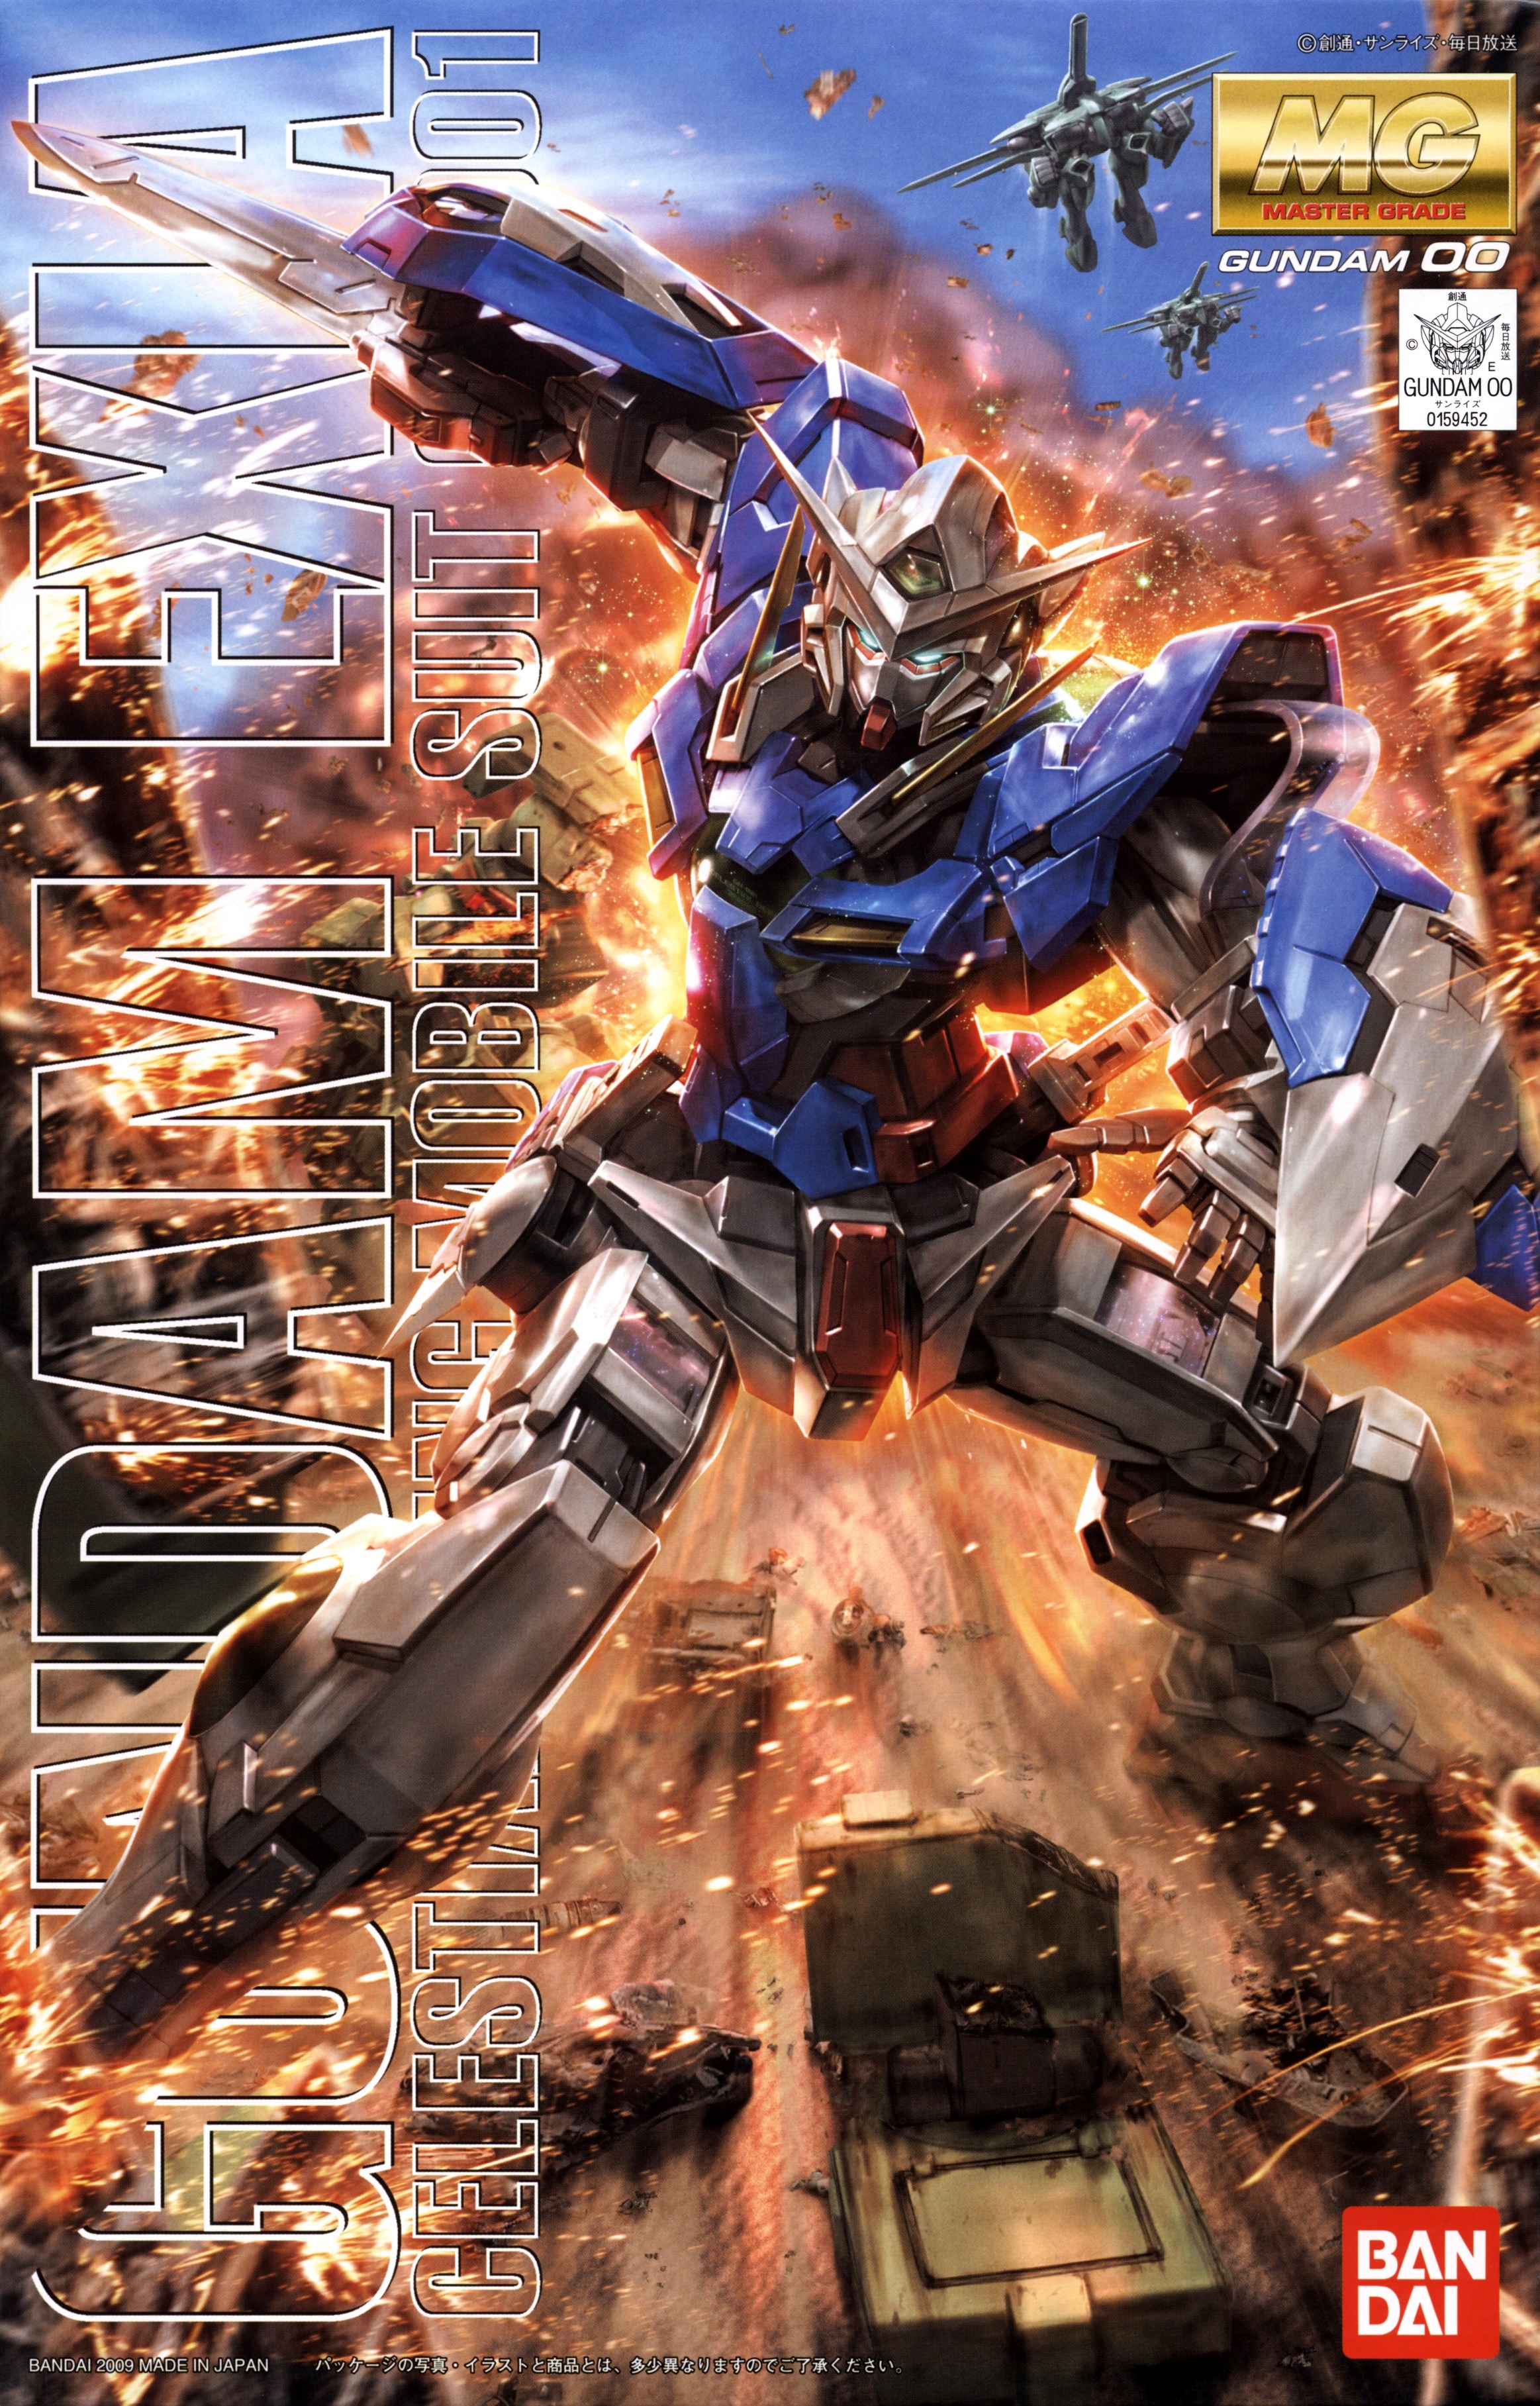
GN-001 Gundam Exia MG 1/100 Box Art.


In case you are confused of which MG Exia it is , please refer to the box art :3
This kit would cost 3,800yen.

One thing i would say about this kit , there are few parts which is quite fragile that i almost break them during building process , so be careful when you are building it.


The weapons ......
(sorry for bad quality photos , having some problems with the lights just now)


GN Sword , GN Long Blade , GN Short Blade , GN Shield , 2 x GN Beam Dagger , 2 x GN Beam Saber

The Shield .....

The shield can be "activated" by pulling the blue parts apart.

GN Beam Sabers and Daggers.


Well , this pose is quite awkward .......

......because it seems like Exia have to pull the beam out from his armpit LOL....
GN Blades ....


the GN Blade holders are on the waist-leg joint , and take note that with the GN Blades on his waist , you will find it annoying when you are trying to do a few action pose.

GN Sword.


You will find that the GN Sword is a little heavy for his shoulder joint to support , but worry not , because the purplish transparent straps will be a support for the shoulders-arms , but also , cause articulation problems. With the straps on , you are only able to lift the arm to a certain level.

It isn't a major problem anyway.....

Now , the most important unit of the GN 001 , ..... the GN DRIVE ......


Well .... as you can see , i bought LED units for the GN drive..... it requires TWO LED UNITS.....


I did test if the light for the chest will be visible if i put on the sticker.... unfortunately , the light will not be visible if i put on the sticker..... so i removed the sticker.....


If you wanted to put the GN Drive on display instead of having it on the back of Exia..... you can cover up the hollow (where the GN Drive is inserted) with a cover , included in the set.


i decided not to use it , so i leave it untouched on the plate....

ABOUT THE ARTICULATION ......
 > I have heard of few articulation problems with MG Exia ...... Well , as i have mentioned above , the Transparent straps on his arms would cause some problems when do some action pose ... and with the GN Blades on his waist, you will find it annoying when doing some action pose .....

Other than that , I don't find any major articulation problems.

Maybe you will find it a little difficult to make Exia stand on his feet.... the problem can be solved just by balancing the legs and the body , as you can see in my photos , i am still able to do some action pose with the support base.
You might find it difficult to balance Exia on his feet because his "slippers" are a little special from the normal ones... And , believe me , have a little patience and try to balance it :3

SO OVERALL.....
 what do you think of this kit ? I think it is FABULOUS .. lol xD The structures for Exia is very special compared to other gundams .....

If you do have any questions on any problems with Exia , do comment below :3


I would like to take this opportunity to thanks my friend , Glen , who contributed the GUNPLA base to GearGundams. Thank you , Glen ^^ and also thanks for supporting GearGundams ^^V


A GP Base for my Gundam Exia !
You can learn how to make a GP Base for yourself HERE (How To Make A GP Base) .

Enjoy :3